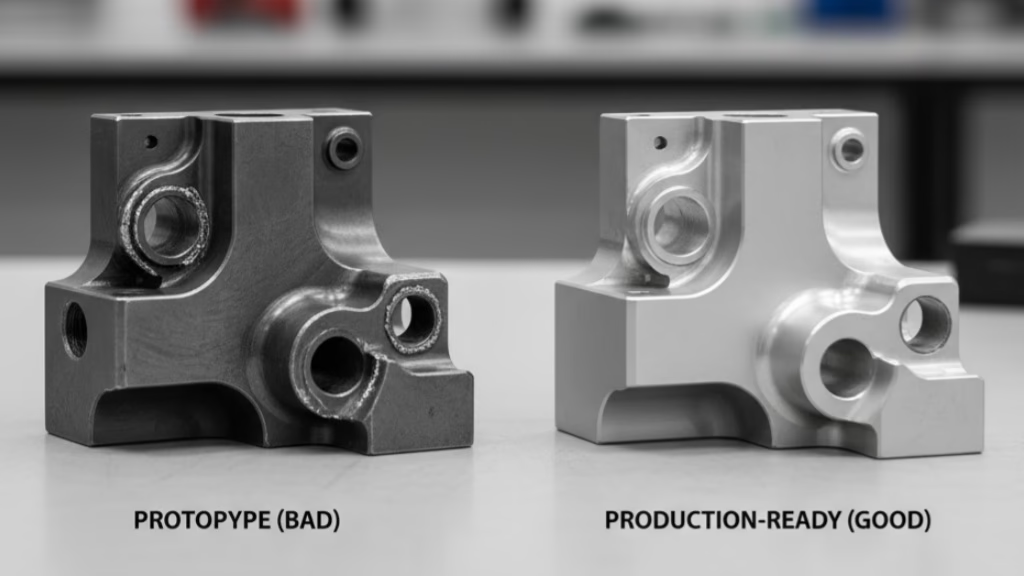
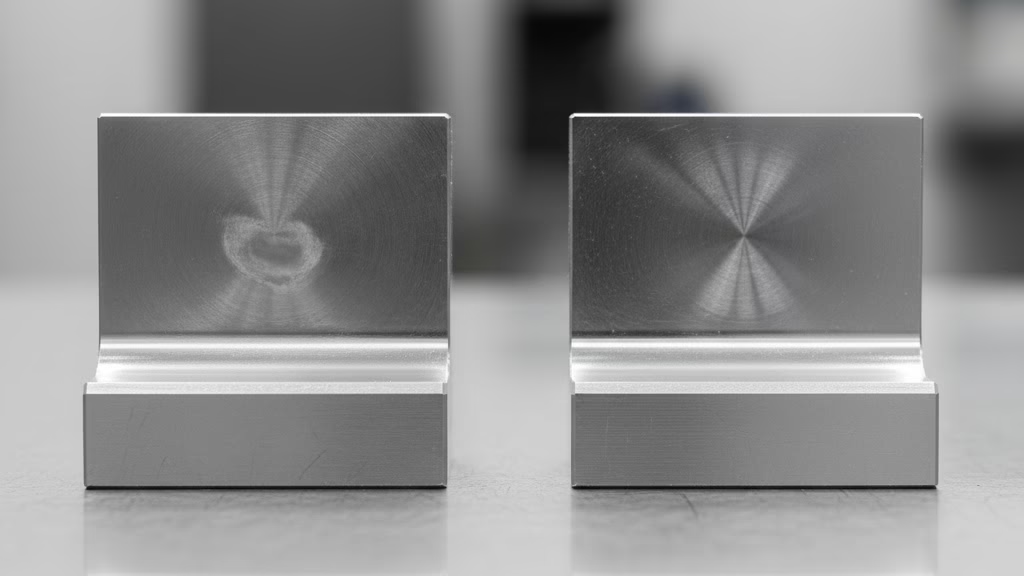
Choosing between Wire EDM and Sinker EDM can make or break your project’s budget and timeline. This no-fluff guide gives you the exact framework engineers use to make the right choice, every single time. We’ll move beyond the basics to give you the data, DFM rules, and cost models you need to get it right.
Wire EDM (Electrical Discharge Machining) uses a thin, electrically charged wire to precisely cut conductive materials, making it ideal for creating intricate through-hole shapes, profiles, and stamping dies. In contrast, Sinker EDM, or Ram EDM, utilizes a custom-shaped electrode to “sink” into the material, eroding a blind cavity that mirrors the electrode’s shape, which is perfect for injection molds, 3D forms, and features that do not pass all the way through the part.
Now that you have the basic difference, it’s time to go deeper. The rest of this guide reveals the critical DFM secrets and “hidden” cost factors that most suppliers won’t tell you about. Keep reading to learn how to make a decision that’s not just technically correct, but also financially smart.
A 60-Second Decision Flowchart
Feeling overwhelmed? Let’s simplify things.
Answering the following questions in order will give you a remarkably accurate idea of which process is right for you in about a minute. This isn’t a substitute for a deep dive, but it’s the perfect starting point to orient your thinking.
1. Is Your Feature a Through-Hole or a Blind Cavity?
This is the most critical question.
- If you are creating a feature that goes all the way through the part, like a stamping die, an extrusion profile, or a precise cutout, you are likely in our precision Wire EDM services territory.
- If you are creating a feature that stops inside the part—a “blind” cavity, a pocket, or a complex 3D impression like you’d find in an injection mold—then you must use Sinker EDM. A wire cannot machine a feature it cannot pass through.
2. Do You Need Perfect, Sharp Internal Corners?
Look closely at your design’s internal corners.
- A wire is always round, which means it will always leave a small radius in the corner. While this radius can be tiny, it can never be a true, sharp zero.
- If your design absolutely requires sharp internal corners (think gear teeth profiles or tight-fitting mold inserts), Sinker EDM is your only option. The electrode can be machined to a sharp point, creating a near-perfect corner in the workpiece.
3. What Is Your Minimum Internal Corner Radius?
If a small radius is acceptable, the next question is how small. The minimum radius a wire EDM can achieve is dictated by a simple formula: R(min) = Wire Radius + Spark Gap.
For a standard 0.25 mm wire, this results in a typical minimum corner radius of about 0.15 mm (or 0.006″). If your design can accommodate this or a larger radius, Wire EDM is still a strong candidate. If you need anything smaller, you’re back to Sinker EDM.
4. Is This for a Prototype or Mass Production?
Finally, consider your production volume.
- For one-off prototypes or very small batches, Wire EDM often has a cost advantage because there’s no need to design and machine a custom electrode.
- For larger production runs, the initial investment in creating a durable electrode for Sinker EDM can pay off, as it may offer faster cycle times for complex cavities.
By now, you should have a strong initial leaning. This flowchart cuts through the noise, guiding you to a logical starting point. Next, we’ll dive into the hard data that solidifies your choice.
Deep Technical Comparison
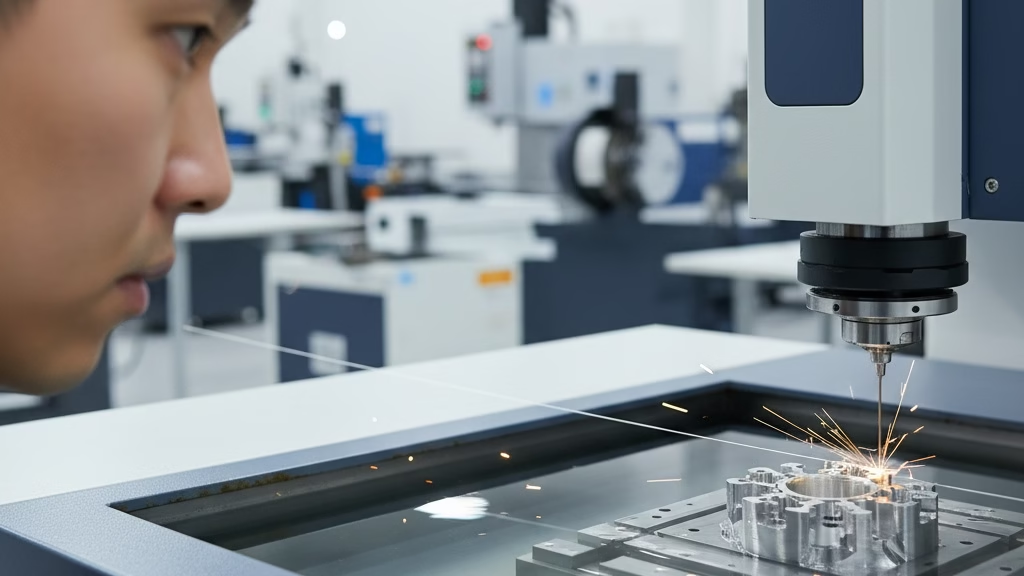
Your initial assessment is complete. Now, let’s look at the hard numbers.
For an engineer, a decision isn’t sound unless it’s backed by data. The table below compares the critical performance metrics of both processes and, more importantly, explains what each number means for your design.
| Performance Metric | Wire EDM | Sinker EDM | Implication for Your Design |
|---|---|---|---|
| Best Possible Accuracy | ±2.5 µm (0.0001″) | ±5 µm (0.0002″) | For components requiring extreme precision, such as medical implants or aerospace parts, the slight edge in accuracy from Wire EDM can be a deciding factor. |
| Best Surface Finish (Ra) | 0.1 µm (4 µin) | 0.2 µm (8 µin) | Both can achieve a mirror-like finish, but if your component’s function relies on an exceptionally smooth, low-friction surface (like an optical mold), Wire EDM has a higher potential. |
| Material Removal Rate (MRR) | 50-300 mm³/min | Up to 5,000 mm³/min | If you need to remove a large volume of material to create a deep cavity, Sinker EDM is significantly faster. Wire EDM is a slower, more deliberate slicing process. |
| Recast Layer Thickness | 5 – 25 µm | 1 – 50 µm | The recast layer is a thin, hardened layer left on the surface. Wire EDM typically produces a thinner, more consistent layer, which is critical for parts subjected to high fatigue stress where micro-cracks could be a failure point. |
As John Bradford, EDM Product Line Manager at Makino, often highlights, the choice becomes clear when geometry is the primary driver. He emphasizes that for true three-dimensional, non-through-hole features, Sinker EDM is often the only viable solution, especially for the complex cavities found in injection molding. While Wire EDM excels in 2D accuracy, it simply cannot create the blind pockets and intricate 3D shapes that are Sinker EDM’s specialty.
These numbers aren’t just specifications; they are design constraints and capabilities. They define the boundaries of what is possible and guide you toward the process that can best realize your vision.
Design for Manufacturability (DFM)
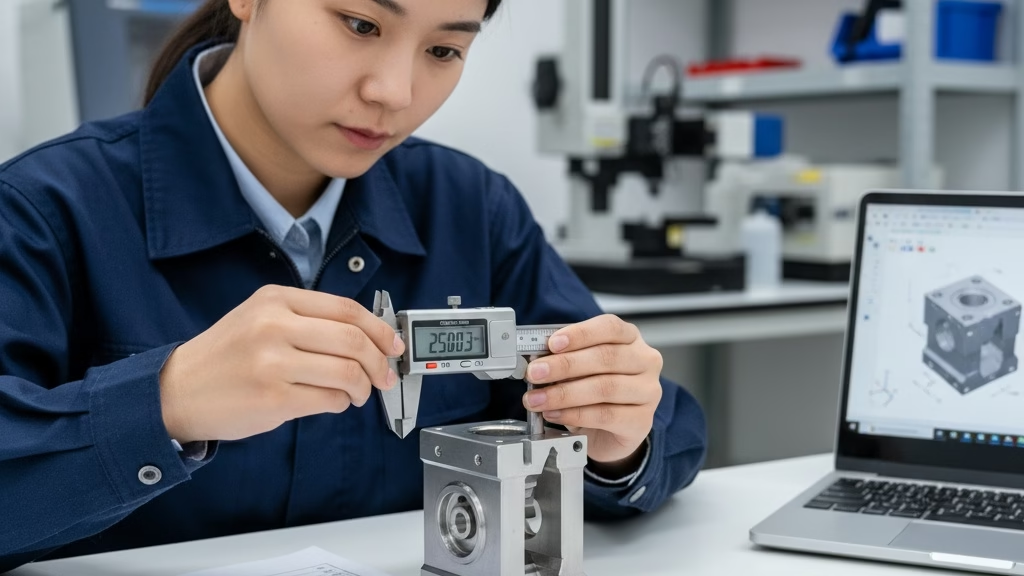
A great design isn’t just about form and function; it’s about manufacturability. By making small adjustments during the design phase, you can save significant time and money.
Here’s how to optimize your design specifically for each EDM process.
Wire EDM DFM Golden Rules
Wire EDM is precise, but it has rules. Respecting them in your design is key.
Plan Your Entry
Remember, the wire needs a place to start. For any internal shape, you must design in a “start hole” for the wire to thread through. Think carefully about its location—placing it strategically can reduce the overall cutting path and save time.
Manage Your Scrap
When the wire finishes a cut, a piece of metal (the scrap or “slug”) is created. If this piece falls unexpectedly, it can break the wire or damage the surface of your part.
A good design includes small “tabs” or supports to hold the slug in place, which can be removed later in a quick secondary operation.
Respect the Aspect Ratio
This is a lesson we learned the hard way. We once had a project with a long, narrow slot that seemed perfect for Wire EDM. However, the depth was over 30 times its width (an aspect ratio > 30:1).
This created a disastrous situation where flushing—the process of washing away debris with dielectric fluid—was completely ineffective. The result? Constant wire breaks and a failed part.
Our rule of thumb now: if your feature’s aspect ratio exceeds 20:1, it requires a serious risk assessment.
Sinker EDM DFM Core Principles
For Sinker EDM, your focus should be on making the electrode’s life easier.
- Think in Reverse: As you design your part, always ask yourself: “How difficult will it be to machine the electrode that creates this feature?” An overly complex or delicate feature on your part requires an equally complex and delicate electrode, which drives up cost and risk.
- Simplify to Save: The “invisible costs” of Sinker EDM are almost always tied to the electrode. You can drastically reduce these by:
- Standardizing radii: Using the same corner radius throughout your part allows a single electrode to machine multiple features, saving immense time and money.
- Reducing deep cavities: The deeper the cavity, the longer and more fragile the electrode must be, and the harder it is to flush debris. This leads to slower machining speeds and increased electrode wear. If possible, shallow out your cavities or design them for easier access.
Thinking about DFM isn’t an extra step; it’s a fundamental part of creating a successful, cost-effective component. It transforms your design from a theoretical concept into a practical, manufacturable reality.
Need to Cut Hard Metals with Extreme Precision?
Our Wire EDM services are designed to handle complex geometries and tight tolerances that conventional machining can’t achieve. Let us turn your most challenging designs into reality.
Uncovering the True Cost
An hourly rate can be misleading. To make a truly informed financial decision, you need to understand the complete cost structure of each process.
Let’s break down what you’re actually paying for.
The Sinker EDM Cost Equation
The cost of a Sinker EDM project is much more than just machine time. The true formula looks like this:
Total Cost = Electrode Cost + Machining Cost + Labor Cost
The most significant and often underestimated variable here is the Electrode Cost. This isn’t just the price of a block of graphite; it includes the hours of expert design, CAM programming, and high-speed CNC milling required to create the electrode itself.
For a complex part, the cost of manufacturing the electrode can easily exceed the cost of the actual EDM process.
We learned this lesson firsthand on an urgent prototype mold for an automotive client. We quoted a competitive lead time based on the Sinker EDM machining hours.
However, we failed to properly account for the four days it took to design, machine, and inspect the complex graphite electrode before the EDM machine was even turned on. The “invisible cost” of the electrode created a delay that frustrated the client and taught us to always present the full picture.
From that day on, our quotes have always separated “Electrode Manufacturing Time” from “EDM Machining Time” for complete transparency.
The Wire EDM Cost Equation
Wire EDM has a simpler and more predictable cost structure:
Total Cost = Programming Cost + Automated Machining Cost
The “electrode” is a spool of wire, a consumable with a predictable cost rolled into the machine’s hourly rate. The real economic advantage, however, lies in automation.
As Brian Pfluger, an EDM Product Manager at Sodick Inc., often points out, modern Wire EDM machines are built for “lights-out” manufacturing. Thanks to technologies like automatic wire threading, a machine can run unattended for over 100 hours, operating through nights and weekends. This doesn’t just save on labor; it dramatically compresses the project’s total lead time. While the hourly rate might seem high, the sheer efficiency and productivity of an automated Wire EDM process often result in a lower overall project cost and a faster time to market.
Understanding these underlying cost models allows you to see beyond the surface-level quote and make a decision that is not only technically sound but also financially strategic.
Quick Decision Summary: Wire EDM vs. Sinker EDM
| Factor | Choose Wire EDM When… | Choose Sinker EDM When… |
|---|---|---|
| Geometry | 2D Profiles, Through-Holes | 3D Cavities, Blind Pockets |
| Corners | A small radius is acceptable | Sharp, perfect corners are required |
| Cost Model | Low setup cost, best for prototypes | High setup (electrode), better for series |
| Speed | Slower MRR, but high automation | High MRR for large volumes |
Industry Insights
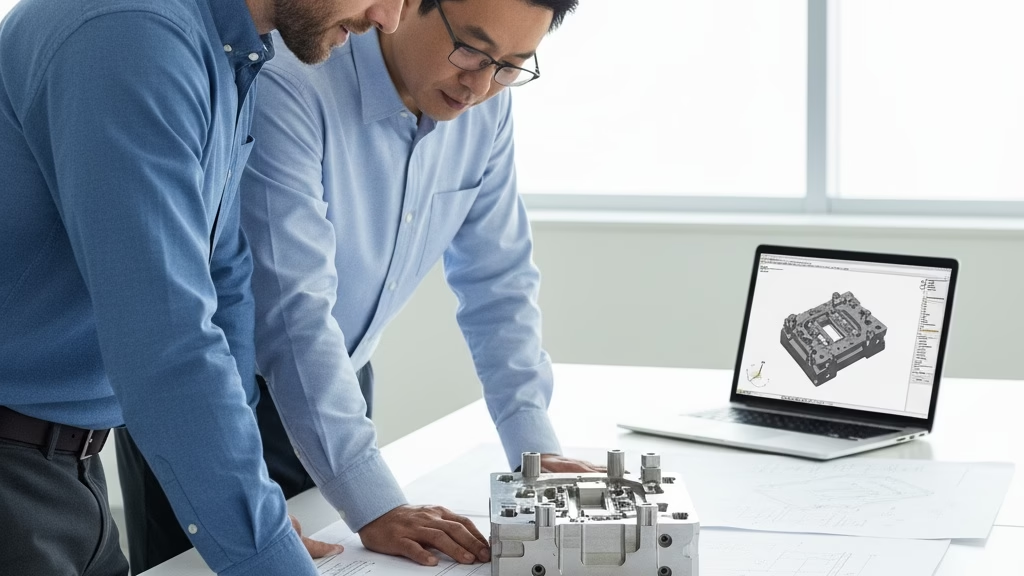
Most articles repeat the same twenty-year-old advice: Wire EDM is for 2D through-holes, and Sinker EDM is for 3D blind cavities.
While technically true, relying solely on this view is a critical oversimplification in today’s manufacturing landscape. Here are some deeper insights that should shape your decision.
How Manufacturing Process Determines Success
The real comparison isn’t between two machines; it’s between two fundamentally different manufacturing workflows.
- Sinker EDM operates within a “nested” workflow. Its success is completely dependent on a complex, expensive, and skill-intensive prerequisite: electrode manufacturing. Before your part ever sees the EDM machine, a team needs to design, program, and perfectly mill a graphite electrode. The entire project’s timeline and quality hinge on this preliminary step. A failure here means a failure everywhere.
- Wire EDM is an end-to-end digital workflow. The path from CAD file to finished part is a highly automated, digital thread. This process has far fewer variables and manual dependencies, making it more predictable and controllable. It operates less like a traditional craft and more like a high-precision industrial printer.
The Hidden Risk of the Talent Gap
There’s a well-known secret in the manufacturing world: the pool of master toolmakers—the artisans who can create flawless electrodes for complex jobs—is shrinking. This introduces a significant supply chain risk.
When you choose Sinker EDM, you aren’t just betting on your supplier’s machine; you are betting on them having this rare and essential human talent in-house. A low quote is meaningless if the supplier can’t execute the electrode manufacturing flawlessly.
Wire EDM, being a more automated and software-driven process, is less dependent on this specific artisanal skill, offering a more standardized and lower-risk production path.
EDM’s Evolving Role
Stop thinking of these processes in isolation. The most innovative engineering teams are now leveraging “hybrid manufacturing.”
A prime example is the combination of metal 3D printing (Additive Manufacturing) and EDM. A team might 3D print a complex mold insert with internal conformal cooling channels—a design impossible to create with traditional methods. However, the 3D-printed surface is too rough for molding.
This is where Sinker EDM comes in, not to create the entire cavity from a solid block, but as a high-precision finishing step to bring the critical surfaces to the required accuracy and finish.
The question is no longer just “Wire or Sinker?” It should be, “How can I combine modern processes like additive manufacturing with the precision of EDM to create designs that were previously impossible?”
Make Your Final Decision and Choose the Right Partner
You’ve made it. You now have a complete framework for navigating the Wire EDM vs. Sinker EDM decision.
You know how to start with the fundamental geometry, validate your choice with hard data, optimize your design for manufacturability, analyze the true costs, and even look ahead to future industry trends.
Remember, choosing the right process is only half the battle. The other, equally important half is choosing the right manufacturing partner—one who understands these nuances, communicates transparently, and has the expertise to guide you.
The best suppliers don’t just make parts; they provide solutions.
Ready to Machine Your Complex Parts?
You’ve designed the component. Now let our EDM experts deliver it with the precision and quality your project demands. Let’s turn your vision into a reality.
References & Notes
[1] Electrode Manufacturing: The process of creating the custom-shaped tool (typically from graphite or copper) used in Sinker EDM. The accuracy of the final part is directly dependent on the precision of the electrode.
[2] Aspect Ratio in Machining: This refers to the ratio of a feature’s depth to its width. In EDM, a high aspect ratio can severely complicate the flushing of debris, leading to instability and poor results.
