
Choosing the wrong hole finishing process can lead to costly scrap parts and major production delays. This guide gives you a proven framework to select the right method every time. We’ll show you exactly when to use reaming vs. boring to save money and guarantee quality.
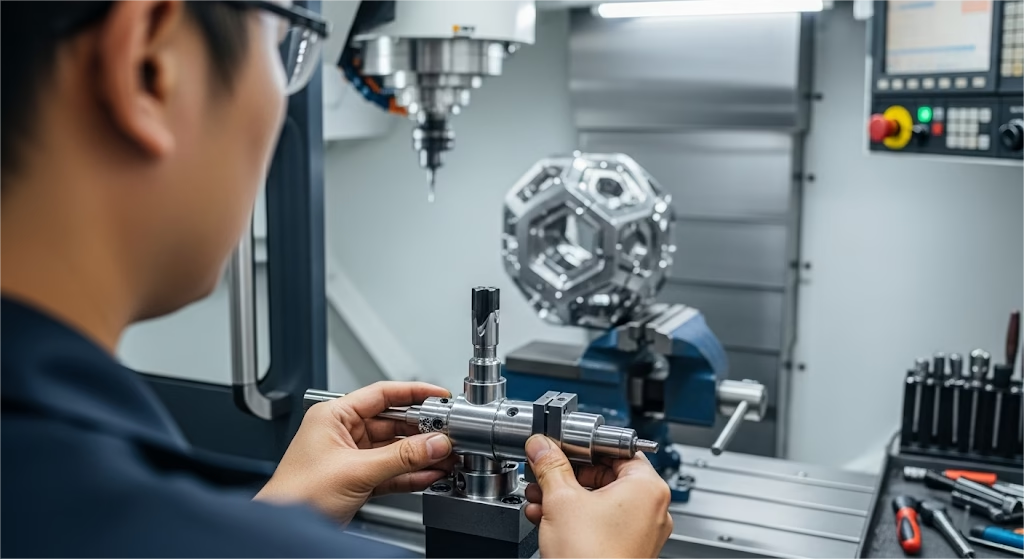
The primary difference between reaming and boring is positional accuracy. Boring is a machining process that uses a single-point cutting tool to enlarge a hole and correct its position, straightness, and concentricity. Reaming uses a multi-flute tool to bring an existing hole to a precise size and improve its surface finish, but it cannot change the hole’s original location.
Now you know the core difference. But the real secret to profitability lies in knowing when to break the rules, and we’ll share a real-world case study where choosing the “wrong” process saved a project from failure.
The First Rule of Hole Finishing: Position Correction

Before you even think about cycle times, tool costs, or surface finish, there is one question that cuts through the noise and makes the initial decision for you: Does the hole’s position or straightness need to be corrected?
This is the fundamental dividing line between these two processes. Think of it this way:
- Reaming follows. A reamer is like a precision artist’s brush that traces an existing line. It will refine and perfect the path it’s given, but it cannot draw a new one. If your pre-drilled hole is slightly off-center or crooked, a reamer will simply create a very precise, very smooth, off-center, and crooked hole.
- Boring corrects. A boring bar is like a surveyor’s tool. It establishes a new, true centerline and cuts a path directly along it, regardless of the imperfections of the existing hole. It can fix positional errors, improve concentricity, and guarantee straightness.
As George Schu, a technical writer and Director of Precision Gages at Mahr Federal, often emphasizes in his columns for Modern Machine Shop, “Reaming follows the path of the drilled hole; it cannot and will not fix a hole that is crooked or off-center… When a drawing specifies tight controls on perpendicularity, concentricity, or true position… a boring operation is almost always implied.”
Your Action Step: Look at your part drawing. If you see strict geometric tolerances for true position, concentricity, or perpendicularity, your decision is made. Boring is the required process. If the hole’s location is already accurate, you can proceed to the next step in the analysis.
Cost and Efficiency Considerations
Once you’ve confirmed that the hole’s position is accurate, the decision shifts from the engineering department to the production floor. Now, the key question becomes: which method is more profitable?
This isn’t just about which process is faster; it’s about the total cost of quality.
For high-volume, standardized production runs—think automotive components—reaming is often the undisputed champion of efficiency. A multi-flute carbide reamer can achieve the required tolerance and surface finish in a single, high-speed pass.
When you’re making thousands of identical parts, shaving even a few seconds off the cycle time for each hole translates into significant cost savings.
However, the script flips entirely in a low-volume, high-mix environment like a job shop or prototyping facility. Here, flexibility is king.
A single adjustable boring head, while representing a higher initial investment of perhaps $400 to over $1,500, can handle a wide range of hole diameters. Compare that to purchasing dozens of individual, fixed-size reamers at $50 to $200 apiece for various non-standard jobs.
In this scenario, the versatility of the boring system provides a far better return on investment.
Need to achieve tight tolerances without the high cost?
Boring and reaming are just two of the precision techniques we use. Our Precision CNC Drilling Services ensure your project starts with the perfect foundation, setting you up for success.
This is where we must look beyond the sticker price of the tool or the seconds on the stopwatch. We need to consider the “hidden factory”—all the unseen costs that accumulate when a process isn’t perfectly suited to the task.
This brings me to a hard-learned lesson from a client’s past.
They were producing a large batch of high-value aluminum gearbox housings. To save 45 seconds per part, they opted for reaming instead of boring the critical dowel pin holes. The initial quality checks were perfect; every hole was the right size.
But in assembly, disaster struck. Over half the units wouldn’t fit. The reamers had perfectly finished the holes, but they couldn’t correct the slight positional drift from the initial drilling.
The result? Over $20,000 in scrap parts, all to save less than a minute of machine time on each. This costly failure teaches us a vital lesson: the cheapest process is not always the most profitable one. True cost-effectiveness comes from getting it right the first time.
A Technical Comparison for Engineers
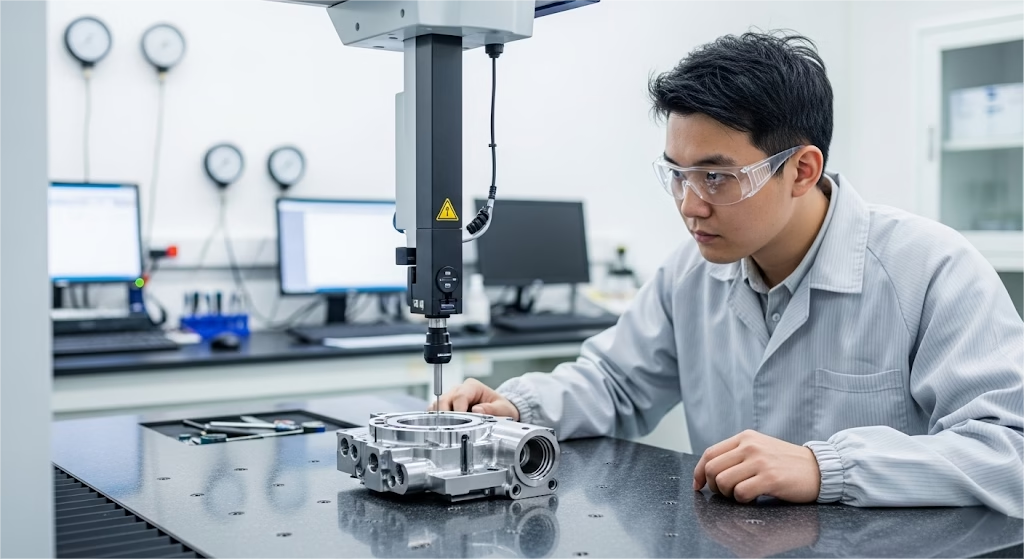
For engineers, the devil is in the details. While the initial decision hinges on positional accuracy, optimizing a design for manufacturing requires a deeper understanding of what each process can realistically and reliably achieve.
Below is a direct comparison of the key performance indicators.
| Metric | Boring | Reaming |
|---|---|---|
| Typical Tolerance | IT6 – IT7 | IT6 – IT8 |
| Best Achievable Tolerance | IT5 | IT6 |
| Typical Surface Finish (Ra) | 0.4 – 3.2 µm | 0.4 – 1.6 µm |
| Positional Accuracy | Excellent (Corrective) | None (Follows) |
| Roundness/Cylindricity | Excellent | Good |
Note: Lower IT grades and Ra values indicate higher precision and a finer surface finish.
What this data reveals is that while both are high-precision processes, boring offers a higher ceiling for geometric accuracy (position, roundness), while reaming is an extremely effective method for achieving excellent size and finish on an already well-positioned hole.
However, a chart doesn’t tell the whole story. The success of reaming is almost entirely dependent on the quality of the hole before the reamer ever touches it.
A common rule of thumb is that the pre-drilled hole’s diameter should be about 1-2% smaller than the final reamed diameter. If the pre-drilled hole is tapered, out-of-round, or has a poor finish, the reamer will struggle, leading to premature tool wear and inconsistent results.
This brings up another crucial experience, this time from the opposite perspective: the danger of over-engineering. We once quoted a project for a hydraulic valve block where a young design engineer had specified boring for nearly every dimensioned hole.
His intention was good—he wanted the highest possible quality. But the reality was that most of these holes were simply for seals or plugs and had very generous positional tolerances.
Our initial quote, based on his drawings, came in 40% over the client’s target price. In a design-for-manufacturability (DFM) review, we pointed out that switching the non-critical holes from a multi-pass boring operation to a single-pass reaming operation would save minutes of cycle time per part.
By collaborating, we brought the product cost into the target range without compromising an ounce of performance. This taught us that the goal is not always to choose the most precise process, but the most appropriate one.
True expertise lies in balancing quality, function, and cost.
| Scenario | Primary Choice | Key Rationale |
|---|---|---|
| High-Volume Production (e.g., Automotive) | Reaming | Speed & Low Cost-Per-Hole |
| Prototyping / Job Shop (High-Mix, Low-Volume) | Boring | Flexibility & Versatility |
| Correcting Hole Position/Straightness | Boring | Only process capable of correction |
| Achieving Best Possible Surface Finish | Reaming / Fine Boring | Both excellent, choice depends on other factors |
A Strategic View on Hole Finishing
Looking beyond the immediate project, the choice between reaming and boring can reflect your company’s core manufacturing philosophy. Are you building a system based on maximum efficiency for a known process, or one based on the flexibility to tackle any challenge?
- An Optimization Mindset: Reaming excels at optimizing a stable, high-volume process. It’s about making a standardized operation as fast and cost-effective as possible. It is a powerful tool for mass production where the parameters are fixed.
- A Capability Mindset: Boring, on the other hand, represents the capability to handle uncertainty. It provides the flexibility to correct errors, tackle non-standard dimensions, and achieve geometric tolerances that are impossible with other methods. This is the foundation of agile manufacturing, prototyping, and aerospace-level precision.
Furthermore, as we move into the era of Industry 4.0, the technological gap is widening. Boring systems are becoming “smarter.”
Modern boring heads feature digital readouts for micron-level adjustments and can even be integrated into closed-loop, automated systems that measure a hole and automatically compensate for tool wear on the next pass.
Reaming, by its nature, remains a fixed, “dumb” tool. It is highly effective but lacks the adaptability that future smart factories will demand.
Investing in advanced boring capabilities, therefore, is not just about solving today’s precision problems; it’s about future-proofing your operations for a more flexible and automated manufacturing landscape. The ongoing debate of Reaming vs. Boring is also a strategic question about the kind of manufacturing partner you aim to be.
Your Final Checklist and Next Steps
We’ve covered a lot of ground, from high-level strategy to in-the-weeds technical data. To bring it all together, here is a simple checklist to guide your final decision on your next high-precision hole project.
Use this checklist for your next project:
- Positional Correction: Is correcting the hole’s location, straightness, or concentricity my top priority?
- Yes: Boring is your only reliable option.
- No: Proceed to the next question.
- Production Volume: Is this a high-volume run of standardized holes (e.g., thousands of parts)?
- Yes: Reaming is likely the most cost-effective solution.
- No: Consider the flexibility of boring.
- Dimensional Flexibility: Do I need to machine various or non-standard hole sizes frequently?
- Yes: The versatility of an adjustable boring system is a significant advantage.
- No: Fixed-size reamers may be sufficient.
- Process Control: Do I have reliable and consistent control over my pre-drilling operation?
- Yes: Reaming is a viable and efficient option.
- No: Be cautious. Boring may be a safer choice as it is less dependent on the quality of the prior step.
Making the right choice between Reaming vs. Boring is a critical step, but it’s part of a larger picture.
For a comprehensive overview, our complete hole-making process selection guide covers drilling and honing as well, ensuring you choose the right solution for any technical need.
If you’re staring at a drawing and still feel uncertain, that’s where we can help. Our expertise isn’t just in making chips fly; it’s in partnering with you to find the most efficient and reliable manufacturing path.
- For Engineers: Unsure if your design is optimized for cost-effective manufacturing?
Upload your drawing for a complimentary DFM (Design for Manufacturability) analysis. Our application specialists will review your requirements and provide expert feedback. - For Production Managers: Looking for a partner who understands the balance between precision and profitability?
Contact us for a quote on your next project. Let us show you how the right process selection can reduce your total cost of quality and deliver parts you can trust.
References & Notes
[1] Geometric Tolerances: These are defined by the GD&T (Geometric Dimensioning and Tolerancing) system. This system provides a symbolic language for designers to communicate engineering tolerances, controlling features like form, orientation, and location.
[2] IT Grades (International Tolerance Grades): Standardized tolerance grades defined by ISO 286. A smaller IT number (e.g., IT5) indicates a tighter, more precise tolerance than a larger number (e.g., IT8).


