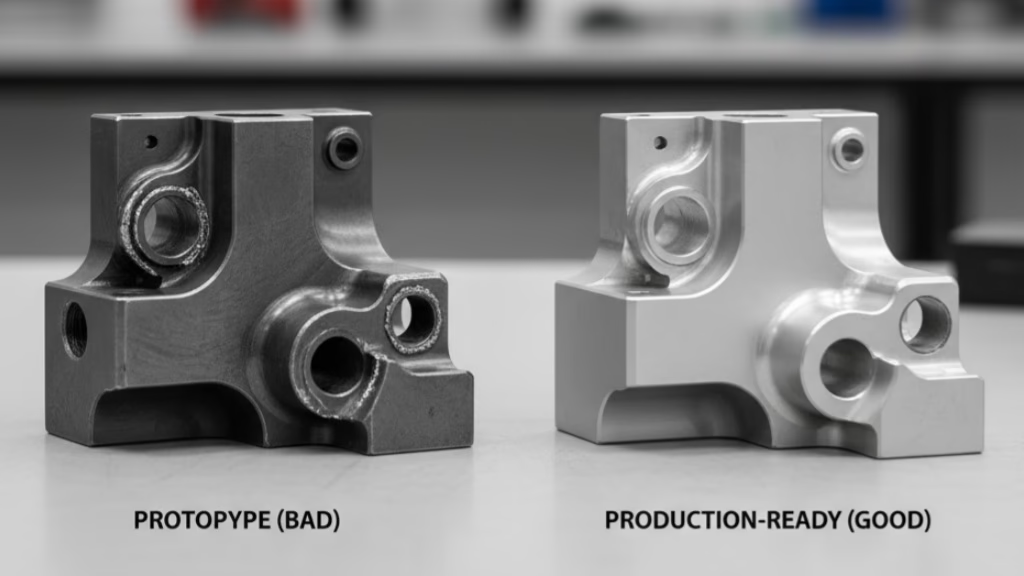
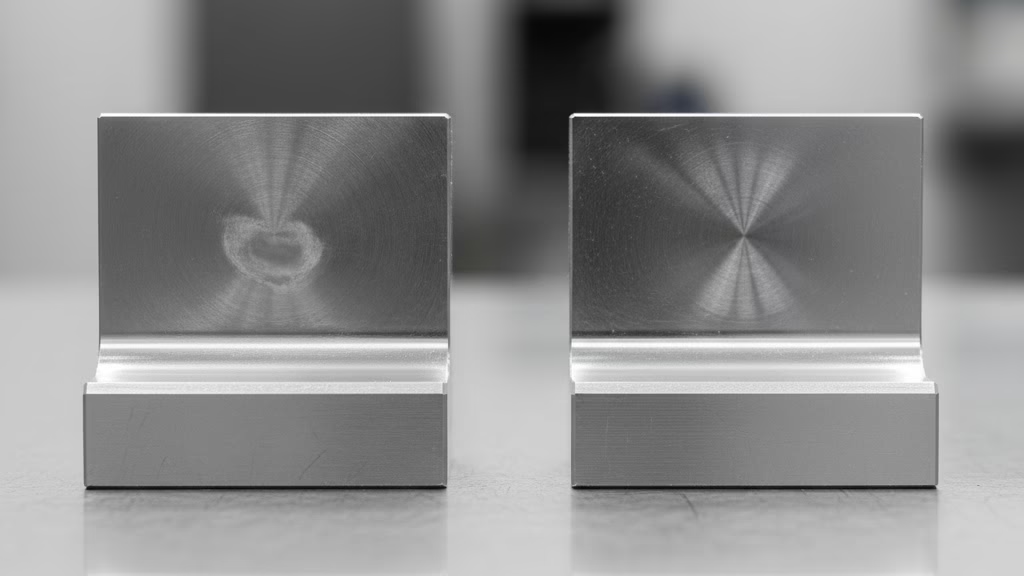
Tired of inconsistent results and costly scrapped parts in your pursuit of a flawless surface? This is the only guide you need to master the process. We’ll show you the exact, field-tested methodology to reliably achieve a Ra 0.1μm mirror finish with cylindrical grinding.
Achieving a Ra 0.1µm mirror finish with cylindrical grinding requires a systematic approach. This involves using a fine-grit wheel (500-800#), applying gentle parameters like a high velocity ratio (100-150) and minimal depth of cut (1-2 µm), ensuring coolant filtration is 5 µm or better, and maintaining a dynamically stable machine environment.
Now that you have the basic formula, it’s time to master the details the experts use. Read on to learn the specific parameters, advanced techniques, and costly mistakes to avoid that separate an amateur finish from a professional one.
PART ONE: Mastering the Process for Repeatable Success
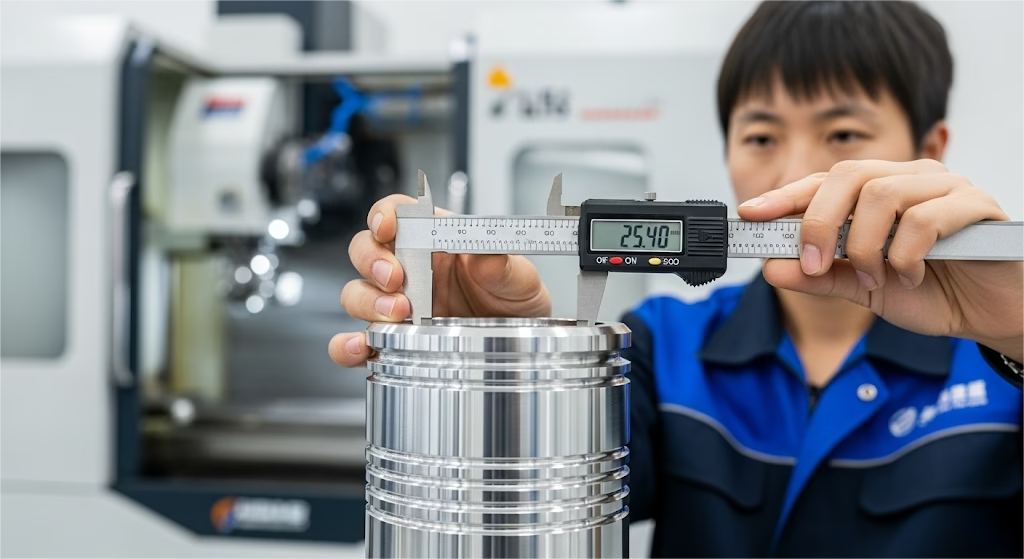
To move past inconsistent results, you need to build a robust technical foundation. This means treating every element of the grinding process not as a separate variable, but as part of an interconnected system where precision is paramount.
Redefining Grinding Wheel Selection
Choosing the right grinding wheel goes beyond simply picking a fine grit. For a true mirror finish, you must think of the wheel and the coolant as a matched “reaction system.” We’ve seen clients invest in top-tier CBN wheels only to pair them with a generic coolant, leading to disastrous results.
A client producing Inconel turbine parts learned this the hard way when their process failed, causing micro-cracks on the components. The culprit? An inexpensive coolant that lacked the specific chemical lubricity needed, causing the wheel to load and overheat the part.
The takeaway is that the coolant’s additives are often designed to work in synergy with the wheel’s bond, promoting controlled grit release and preventing microscopic welding. For the final finishing pass to achieve Ra 0.1μm, you should be looking at vitrified bond wheels with grit sizes between 500# to 800#, paired with a high-quality synthetic grinding fluid recommended by the wheel manufacturer.
The Physics Behind the Parameters
Relying on “tribal knowledge” or endless trial-and-error to set grinding parameters is a recipe for frustration. A more scientific approach is to focus on the Equivalent Chip Thickness (heq), a metric that reflects the actual cutting load on each abrasive grain. Your goal in mirror finishing is to make this value incredibly small, typically between 0.01 to 0.1 µm.
This is achieved by manipulating the entire parameter set:
- Velocity Ratio (q): For mirror finishing, you want a high velocity ratio (Vs/Vw) of 100 to 150, meaning the workpiece surface speed is significantly slower than the wheel’s.
- Depth of Cut: The final passes should involve a radial depth of cut of just 1-2 µm, followed by several “spark-out” passes with zero infeed to eliminate any residual deflection.
As Prof. Stephen Malkin from the University of Massachusetts Amherst noted in his foundational work, a significant portion of energy in grinding is converted into heat. By using these gentle parameters, you transition from aggressive “cutting” to a controlled “plowing” action, minimizing thermal energy and preventing the subsurface damage that can ruin a part’s integrity, even if it looks shiny.
The Art of Wheel Dressing
Your finished part surface is a direct replica of your grinding wheel’s surface. Therefore, how you dress the wheel is critically important.
For mirror finishing, single-point diamond dressers are often inadequate. You need the precision of a rotary diamond dresser to create a perfectly flat and sharp cutting surface. The dressing process itself must be as precise as the final grinding pass, using extremely slow traverse rates (≤ 0.05 mm/rev) and shallow dressing depths (≤ 5 µm).
Coolant and Filtration: The Process Cleanroom
Finally, you must address the “invisible factory”—your coolant delivery and filtration system. We once had a client chase a “ghost” chatter problem for weeks, only to discover the vibration was transmitted through the concrete floor from a stamping press 50 meters away. Your grinding machine is a sensitive instrument, and it operates within a larger factory ecosystem that must be stable.
More directly, your coolant’s cleanliness is non-negotiable. Any hard particle larger than 1µm can leave a fatal scratch on a mirror-finished surface. This is why a filtration accuracy of ≤ 5 µm is an absolute requirement. Investing in a multi-stage filtration system with magnetic separation and paper band filters is not a luxury; it’s a necessity to ensure that the fluid hitting your workpiece is pristine.
Need to Hold Ultra-Tight Tolerances?
When milling and turning aren’t enough, our precision grinding services deliver the exceptional accuracy and surface finish your project demands.
PART TWO: Controlling the System for Perpetual Stability
Achieving a Ra 0.1μm finish once is a success. Achieving it on every single part, day in and day out, is a competitive advantage. This requires shifting your focus from the immediate grinding process to the entire system’s stability.
Look Beyond the Machine: Your Factory’s Ecosystem
You can have the best machine and the perfect parameters, but if the surrounding environment is unstable, you will chase phantom problems forever. The truth is, your ultra-precision grinder operates within a larger factory ecosystem, and it’s sensitive to disturbances you might never consider. Think of your machine not just as a tool, but as a highly sensitive sensor.
For instance, a stable thermal environment is critical. A seemingly minor 5°C temperature shift in your facility can cause micro-scale thermal expansion in the machine’s structure, subtly throwing off your carefully set parameters.
As Dr. K. Scott Smith of the University of North Carolina at Charlotte emphasizes, the dynamic stability of the entire system is often more critical than the machine’s positional accuracy. This stability can be compromised by factors you’d least expect, like voltage fluctuations from your power grid or pressure drops in your hydraulic lines.
Why Your Ra Value Might Be Lying to You
Here’s a scenario we’ve seen firsthand: a hydraulic systems client was producing valve spools with a beautiful Ra 0.1μm finish. The quality reports were perfect. Yet, they faced a wave of field failures due to premature seal wear. How could this be?
The answer is that the Ra value, while useful, only tells part of the story. It’s an average of the peaks and valleys on a surface and doesn’t describe their shape. Their “perfect” surface was actually composed of sharp microscopic peaks (a positive Rsk, or skewness). These peaks acted like tiny knives, shredding the rubber seals over time.
By adjusting the final spark-out passes, they were able to create a “plateau” surface with rounded peaks (a negative Rsk). The Ra value remained the same, but the seal’s service life increased by 400%. For functional surfaces, you must look beyond Ra to ensure the part performs as intended.
| Problem | Underlying Cause | Strategic Solution |
|---|---|---|
| Inconsistent Finish | Environmental Instability | Control thermal & power ecosystem |
| Micro-Scratches | Poor Coolant Filtration | Implement ≤ 5 µm filtration |
| Premature Part Failure | Ignoring 3D Surface Parameters | Analyze Rsk, not just Ra |
| High Scrap Rate | Reactive Process Adjustments | Use SPC for proactive control |
From Firefighting to Fire Prevention with SPC
Finally, to ensure long-term stability, you must move from a reactive “firefighting” mode to a proactive “fire prevention” mindset. Implementing Statistical Process Control (SPC) is the way to do this.
By regularly measuring surface finish and plotting the data on a control chart, you can visualize the process’s natural variation. More importantly, you can detect subtle drifts—caused by gradual wheel wear or coolant degradation—long before they result in an out-of-spec part. This allows you to intervene and correct the process before you start producing scrap, transforming your operation from reactive to predictive.
PART THREE: Elevating Strategy from Technology to Capability
For technical managers and decision-makers, mastering a process like mirror finishing is more than a technical achievement—it’s a strategic move. The ability to reliably produce parts with this level of precision opens doors to new markets and solidifies your position as a high-value supplier.
Building Your Business Case: Cost vs. Return
Justifying the investment required for stable Ra 0.1μm production means looking beyond the initial capital expenditure. You must present a clear analysis of the Total Cost of Ownership versus the Return on Investment.
The Costs:
- Slower cycle times due to fine parameters.
- Higher scrap rates during the learning curve.
- Investment in superior filtration, balancing, and environmental controls.
The Returns:
- Access to high-margin markets: The medical, aerospace, and semiconductor industries demand this level of precision and are willing to pay a premium for it.
- Enhanced product performance: A mirror finish is not just for aesthetics. It directly impacts a component’s functional performance. By eliminating microscopic stress risers, you can improve a part’s fatigue life by 20-50%. A proven DfM guide can further enhance these outcomes. In hydraulic systems, it enhances sealing performance, reducing wear and increasing reliability. This is a powerful selling point that translates directly to product value.
- Competitive differentiation: When you can reliably deliver a finish that competitors struggle with, you create a powerful competitive advantage that is difficult to replicate.
Conclusion: Mastering Mirror Grinding is a Strategic Imperative
In today’s shifting global supply chain, the ability to perform high-precision manufacturing processes in-house is more valuable than ever. Mastering the mirror finish cylindrical grinding process is not just about solving a production challenge; it’s about building a core competency.
It signals to the market that your company is committed to the highest standards of quality and has the technical depth to handle the most demanding jobs. This capability becomes a strategic asset, enabling you to take on more complex projects, protect your intellectual property, and secure your place in the supply chains of the future.
Achieving a stable Ra 0.1μm finish is a system-wide effort. If you’re facing challenges in your grinding process or need a compelling case for investing in this capability, our team has the hands-on experience to guide you. Contact us to transform your technical challenges into a strategic advantage.
Turn Grinding Challenges into Production Wins
Ready to move beyond theory? Our engineers provide expert DfM feedback to solve your most complex grinding and finishing challenges. Let’s build a stable, high-yield process together.

