
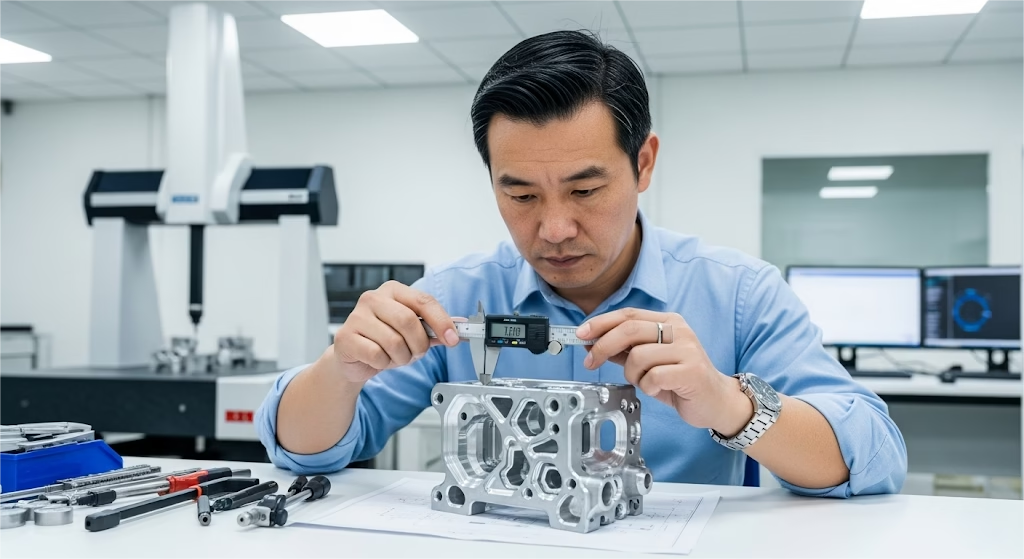
Choosing the correct aluminum finish is a critical engineering decision. This guide provides a clear, data-driven comparison to help you select the right anodizing process for your application and avoid costly production errors.
Anodizing Type II (conventional) creates a thin coating (5-25 µm) primarily for decorative purposes and moderate corrosion resistance. In contrast, Anodizing Type III (hardcoat) is a specialized, low-temperature process that produces a significantly thicker (25-100 µm), harder (60-70 HRC), and more wear-resistant surface for demanding applications.
But the differences in coating thickness and hardness have critical implications for dimensional tolerances and material fatigue life. Read on to see the real-world case studies and design considerations that spec sheets won’t tell you.
Key Performance Metrics: A Direct Comparison
Let’s move past general descriptions and look at the hard numbers. When you’re making a decision that affects tolerances and performance, you need quantifiable data. This table breaks down the essential differences between conventional Type II anodizing and Type III hardcoat.
| Performance Metric | Type II (Conventional Anodize) | Type III (Hardcoat Anodize) | Unit / Standard |
|---|---|---|---|
| Coating Thickness | 0.0002″ – 0.001″ (5 – 25 µm) | 0.001″ – 0.004″ (25 – 100 µm) | Inches (µm) |
| Surface Hardness | 30 – 45 HRC (200 – 400 HV) | 60 – 70 HRC (600 – 700 HV) | Rockwell C (Vickers) |
| Abrasion Resistance | Moderate | Excellent | Taber Test (Weight Loss) |
| Corrosion Resistance | 336+ Hours | 1000 – 2000+ Hours | ASTM B117 Salt Spray |
| Process Temperature | 65 – 72 °F (18 – 22 °C) | 28 – 40 °F (-2 – 4 °C) | °F (°C) |
While the hardness of Type III is impressive, it’s the coating thickness that often causes the most significant—and costly—surprises in production. This brings us to the single most critical rule you must account for in your design.
The Dimensional Change Formula You Can’t Ignore
Anodizing is not a coating that simply sits on the surface; it’s a conversion process. The anodic film grows both into and out of the aluminum substrate. The industry rule of thumb is the “50/50 Rule”:
- 50% of the total coating thickness penetrates the material.
- 50% of the total coating thickness builds up on the surface.
This means for every 0.001″ of total coating thickness specified, the dimension on that surface will grow by 0.0005″. For a shaft or pin, the diameter will increase by the full coating thickness.
Example: If you specify a 0.002" Type III hardcoat on a shaft with a 1.0000" diameter, the final diameter will be approximately 1.0020". Forgetting to account for this growth in your pre-machining tolerances is one of the most common reasons for parts failing inspection and ending up in the scrap bin.
A Case Study: When the “Strongest” Choice Fails
To understand how critical these details are, let me share a real-world example. We worked with a medical device startup developing a handheld surgical tool from 6061 aluminum.
Their design required two key things: a sliding mechanism that was extremely wear-resistant for thousands of cycles, and a handle that could withstand repeated steam sterilization while maintaining a premium feel.
Seeing “wear resistance” on the spec sheet, the engineering team specified a 0.002" Type III hardcoat for every component. On paper, it was the most robust solution.
When the first prototypes arrived, disaster struck.
- Mechanical Failure: The sliding mechanism, designed with a tight
±0.0005"tolerance, was completely seized. The0.002"dimensional growth from the hardcoat had destroyed the precision fit, rendering the entire batch of precision machined parts useless. - User Experience Failure: The handle, instead of feeling smooth and clinical, was now abrasive, like fine-grit sandpaper. The unsealed hardcoat finish, chosen for maximum hardness, also stained easily and looked unprofessional after sterilization.
The project stalled until we helped them reassess. The lesson was clear: don’t apply one solution to a multi-faceted problem.
The fix was to treat the tool not as one part, but as a system of surfaces with different needs. The sliding component was re-machined to account for a Type III hardcoat, while the handle was switched to a smoother, corrosion-resistant Type II anodize.
By matching the process to the function, they saved the product. This experience highlights a crucial insight: you must move beyond the datasheet and consider the practical realities of your design.
Need Help with Your Next Machining Project?
Selecting the right surface finish is just one part of the equation. Our engineers can help you navigate material selection, tolerance challenges, and DfM to ensure your parts are made right, the first time.

Your Practical Engineering Toolkit
Theory is important, but practical tools are what get the job done. Armed with the lessons from that case study, here are three key areas to focus on to ensure your design is successful from the drawing board to the final product.
Properly Specifying Anodizing on a Drawing
Clarity on your engineering drawing is non-negotiable. An ambiguous callout invites errors. Always use the full military specification to define exactly what you need.
A complete callout should look like this: ANODIZE PER MIL-A-8625, TYPE III, CLASS 1
- TYPE defines the process (e.g., Type III for hardcoat).
- CLASS defines whether the coating is dyed (Class 2) or non-dyed (Class 1).
Don’t forget to clearly mark areas that require masking—such as threaded holes or electrical grounding points—to prevent the insulating anodic film from forming there.
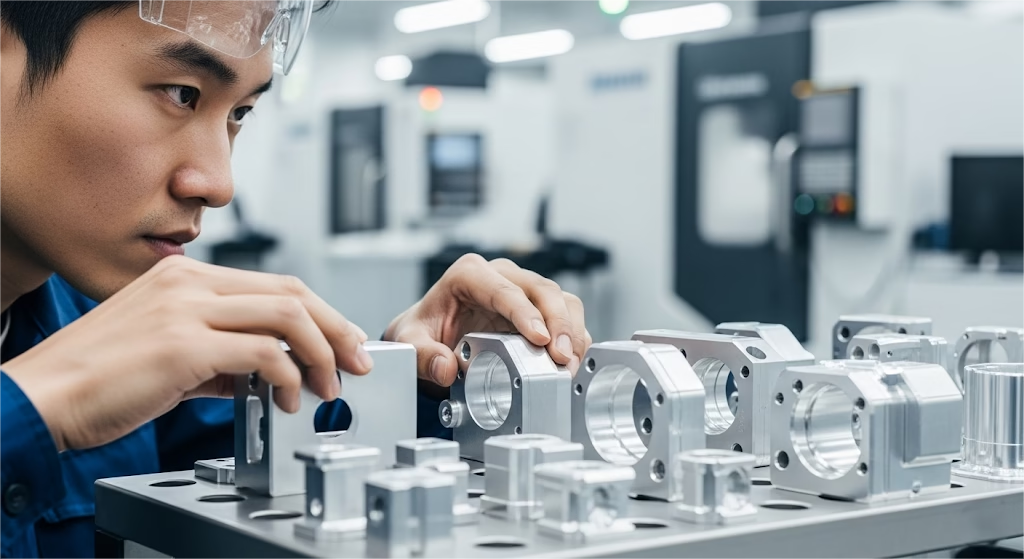
Choosing the Right Aluminum Alloy
The final quality of your anodized finish is fundamentally tied to the aluminum alloy you choose.
As metallurgist Dr. Jude Mary Runge, author of “The Metallurgy of Anodizing Aluminum,” states, you can’t view the finish as a separate layer; it is a direct conversion of the substrate. The alloy’s composition dictates the final coating’s quality.
For best results, keep this general guide in mind:
- Excellent for Type III: 5000, 6000, and 7000 series alloys (especially 6061 and 7075). They produce a hard, dense, and uniform coating.
- Fair: 1000 and 3000 series alloys.
- Poor to Unsuitable: High-copper (2000 series) and high-silicon casting alloys (like A380). These alloys often result in a softer, uneven, and discolored hardcoat.
Justifying Your Choice: Anodizing vs. Alternatives
You may need to explain why anodizing is the right choice over other common finishes. Here’s a simple way to frame the decision:
- Choose Anodizing (Type II or III) when you need a hard, wear-resistant, and corrosion-resistant finish that is integral to the part and maintains a metallic feel.
- Choose Chemical Conversion Coating (Chem Film) when you need corrosion protection and electrical conductivity, but wear resistance is not a factor.
- Choose Powder Coating when you need a thick, durable, decorative finish in a wide range of colors and textures, and precise dimensional changes are not a concern. For metallic finishes that offer extreme hardness or sacrificial protection, it’s also worth exploring common electroplating processes like nickel, chrome, or zinc.
Beyond the Datasheet: Insights for Critical Applications
The most experienced engineers know that a product’s success often lies in details that aren’t on the spec sheet. Here are three critical insights to consider before finalizing your decision.
The Trade-Off Between Hardness and Fatigue Life
While Type III hardcoat adds incredible surface hardness, it can come at a cost to the part’s structural integrity under certain conditions. The hard, brittle anodic layer can act as a stress riser, creating initiation points for cracks.
As noted in the work of metal finishing authority Dr. Arthur Brace, this can lead to a significant reduction in the fatigue strength of the base aluminum.
Solving a wear problem by creating a fatigue failure is a trade you don’t want to make. If your component will be subjected to high-cycle vibrations or structural loads—think aerospace parts or robotics—you must account for this potential de-rating in your design analysis.
The Sealing Dilemma: Corrosion vs. Wear Resistance
To achieve maximum corrosion resistance, anodized parts are typically sealed. This process closes the microscopic pores in the anodic film. However, this sealing process, often using hot water or nickel acetate, slightly hydrates and softens the aluminum oxide. The result is a trade-off:
- Sealed Hardcoat: Offers excellent corrosion protection but has a slightly lower absolute hardness and wear resistance (a reduction of 5-15%).
- Unsealed Hardcoat: Provides the maximum possible hardness and abrasion resistance but is more susceptible to staining and corrosion.
You must decide which threat is primary for your application. Is the part fighting friction in a dry environment or battling moisture in the field?
The Importance of Racking Points
Finally, remember the practical reality of the anodizing process. Your part must be held by conductive racks to allow electrical current to flow.
These contact points, known as racking points, will have small voids where the coating cannot form. A good finishing partner will discuss with you the best place to locate these marks—ideally on a non-cosmetic or non-critical surface. Proactively defining an acceptable racking location on your drawing is a hallmark of an experienced designer and is key to avoiding cosmetic rejects.
| Decision Factor | Choose Type II When… | Choose Type III (Hardcoat) When… |
|---|---|---|
| Primary Goal | Appearance, color, moderate corrosion resistance. | Extreme wear, hardness, high performance. |
| Wear & Abrasion | Low to moderate contact, cosmetic surfaces. | Sliding components, high-cycle mechanisms. |
| Dimensional Tolerance | Less critical, larger tolerances acceptable. | Critical, but must account for ~50% buildup. |
| Fatigue Life | Preferred for critical structural parts. | Use with caution; requires fatigue analysis. |
| Cost Sensitivity | Lower initial cost, budget-sensitive projects. | Higher cost justified by performance needs. |
Your Final Decision: A Framework for Success
Ultimately, the choice between Type II and Type III anodizing isn’t a simple binary decision. It’s a systems-thinking challenge.
The best engineering outcomes are achieved not by simply selecting the “hardest” or “most cost-effective” option, but by holistically considering the part’s function, its base alloy, the practical limitations of the finishing process, and the critical details of your design.
By moving beyond the datasheet and embracing these deeper insights, you can create a more robust and reliable product. If your next project involves complex trade-offs and you need a partner who understands the nuances of Anodizing Type II vs. Type III, our team is here to help.
Contact us for a technical consultation before you finalize your design—let’s ensure you get it right from the start.
References & Notes
[1] MIL-A-8625 Standard: This is the U.S. military specification that defines the requirements for anodic coatings on aluminum and aluminum alloys. Type II refers to conventional coatings created from sulfuric acid anodizing, while Type III refers to hard anodic coatings. The standard details technical requirements for thickness, corrosion resistance, and hardness.
[2] Substrate Metallurgy: The viewpoint regarding the substrate’s critical role is based on the foundational work of Dr. Jude Mary Runge. Her book, “The Metallurgy of Anodizing Aluminum” (Springer, 2018), is a primary resource that explains how alloy composition and microstructure directly influence the final properties of the anodic oxide film.
[3] Fatigue Strength Considerations: The discussion on the reduction of fatigue strength is a well-documented phenomenon in materials science. Dr. Arthur Brace’s “The Technology of Anodizing Aluminium” (Interall, 2000) is an authoritative text that covers the mechanical properties of anodized coatings, including the potential for brittle hardcoats to act as initiation sites for fatigue cracks.


