
Tired of heat treatment failures turning your perfectly designed steel parts into expensive scrap? This guide provides the exact data, design rules, and supplier questions you need to master the process. We’ll show you how to control the outcome of hardening, annealing, and tempering every single time.
The heat treatment process for steel alters its mechanical properties using controlled heating and cooling. Hardening (quenching) increases hardness and wear resistance but makes steel brittle. Annealing softens steel for easier machining, while tempering is performed after hardening to reduce brittleness and increase toughness.
Now that you understand the basics, you’re ready to learn the specific data and design secrets that separate amateur designers from elite engineers.
Chapter 1: The Engineering Purpose of Heat Treatment

Let’s cut through the dense academic theory. As an engineer, you don’t just need to know what a process is; you need to know what it does for your part.
Think of these processes as tools in your design toolkit, each with a specific job.
- Hardening (Quenching): This is your tool for achieving maximum hardness and wear resistance. When a part needs to withstand abrasion, friction, and surface pressure, hardening is the go-to process.
- Annealing: This is the “reset” button. Its primary purpose is to make the material as soft as possible. Why would you want that? To prepare it for extensive machining or severe cold-forming operations, making the manufacturing process smoother and more cost-effective.
- Normalizing: Think of this as a refining process. Its goal is to create a more uniform and fine-grained microstructure, essentially improving the material’s “foundation.” It relieves internal stresses from prior work (like forging) and creates a more predictable starting point for subsequent hardening.
- Tempering: This is arguably the most critical step for safety and performance. A part that has been hardened is extremely brittle, like glass. Tempering is the process that trades a little of that extreme hardness for a significant gain in toughness. It transforms a “brittle” part into a “strong and resilient” one that can absorb shock and resist fracture.
Now, consider this common scenario. Engineer A designs a shaft using 45# steel and specifies a water quench. The cost is low, but the scrap rate from cracking and distortion is high.
Meanwhile, Engineer B designs the same shaft using 40Cr steel with a milder oil quench. The material cost is slightly higher, but nearly every part comes out perfect.
What made the difference? It wasn’t luck. It was an understanding of a crucial, yet often overlooked, property: hardenability.
This single concept explains why one choice led to failure and the other to success, and it’s a perfect example of why your material selection and heat treatment specification are deeply interconnected.
Chapter 2: Key Data and Process Parameters
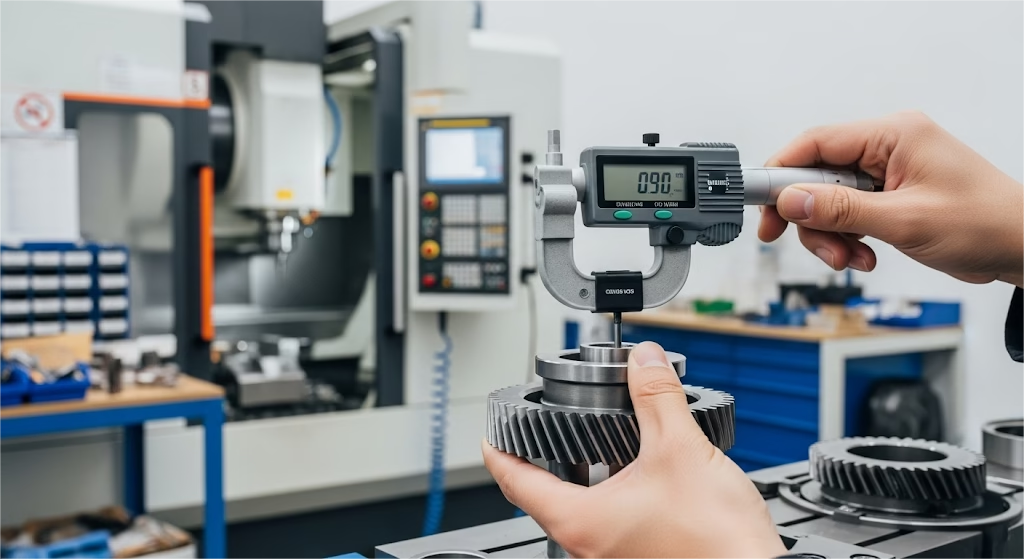
Theoretical knowledge is great, but your job requires concrete numbers. When you’re specifying a material or process, you need reliable data at your fingertips.
So, let’s build that quick reference guide, focusing on two of the most common workhorse steels in manufacturing.
Performance Data for Two Key Steels
First up is AISI/SAE 1045 steel, a versatile and cost-effective medium-carbon steel.
| Process | Hardness | Tensile Strength |
|---|---|---|
| Annealing | 160-190 HB | ~570-620 MPa |
| Normalizing | 170-210 HB | ~600-680 MPa |
| As-Quenched (Water) | 55-58 HRC | (Extremely Brittle) |
| Quenched & Tempered | 28-35 HRC | ~850-1000 MPa |
Next, we have 40Cr Steel (AISI/SAE 5140), an alloy steel that offers superior properties for more demanding applications.
| Process | Hardness | Tensile Strength |
|---|---|---|
| Annealing | 180-210 HB | ~630-700 MPa |
| As-Quenched (Oil) | 53-56 HRC | (Extremely Brittle) |
| Quenched & Tempered | 32-38 HRC | ~1000-1200 MPa |
These tables are your starting point, but the real magic happens when you understand the processes behind these numbers.
Decoding the Critical Process Parameters
The success of heat treatment hinges on controlling a few key variables.
The Secret of Cooling Rate: The speed at which you cool the steel from its hardening temperature is arguably the most critical factor. Imagine a simple chart: water provides an extremely fast cool, oil is significantly slower and gentler, and air is the slowest.
This directly explains why 45# steel, with its lower hardenability, requires a drastic water quench to achieve full hardness, while the chromium in 40Cr allows it to harden fully with a much less aggressive oil quench, dramatically reducing the risk of distortion and cracking.
Tempering: The Trade-off for Toughness: As metallurgist Dr. George Krauss explained in his foundational work, “Steels: Processing, Structure, and Performance,” quenching produces a hard but brittle martensitic structure.
“Tempering is the heat treatment that reduces the hardness and increases the toughness of the as-quenched martensitic structures.”
Think of it as a curve on a graph: as you increase the tempering temperature, hardness decreases, but toughness increases. Your job as an engineer is to specify the point on that curve that gives your part the perfect balance of properties.
Avoid the “Danger Zone”: Finally, a critical piece of practical knowledge. When tempering, you must avoid the temper embrittlement zone, which for most carbon and alloy steels falls between 250-400°C (approx. 480-750°F).
Operating within this range can cause a significant drop in the material’s impact toughness. Your tempering specification should always be either below this range for high hardness or above it for optimal strength and toughness.
Need to Validate Your Heat Treatment Choice?
Our experts can review your design and material specs to ensure your chosen heat treatment process delivers the performance you need without costly failures. We specialize in providing the precise CNC Milling Services required for parts before and after heat treatment.
Chapter 3: Eliminating 80% of Failure Risk on the Drawing Board
As engineers, when a heat-treated part cracks or warps, our first instinct is often to question the supplier. But here’s an insight from years of experience: the majority of heat treatment failures are not made in the furnace; they are designed on the drawing board.
Your part’s geometry is the single biggest predictor of success. The process itself just follows the laws of physics, which act upon the design you create.
By internalizing a “design for heat treatment” mindset, you can eliminate the vast majority of potential problems before they ever happen.
The Three “Don’ts” of Geometry
Think of these as the fundamental rules to prevent turning your part into a high-stakes gamble.
- Don’t Allow Sharp Internal Corners: A sharp internal corner is a stress riser’s best friend. During the intense thermal and transformational stresses of quenching, these corners act as leverage points, concentrating stress until a crack initiates. We once saw a perfectly specified shaft with a keyway that repeatedly developed micro-cracks. The culprit? The keyway’s sharp, 90-degree corners. The Rule: Mandate a radius (e.g., R > 0.5mm) on all internal corners that don’t interfere with function. That small fillet is the single most effective way to dissipate stress and prevent cracks.
- Don’t Design Abrupt Section Changes: A part with a thick, heavy section connected to a thin, slender one is a recipe for distortion. The thin section cools and contracts much faster than the thick section, creating a massive internal tug-of-war that inevitably leads to warping. Always try to use gradual, smooth transitions between different cross-sections.
- Don’t Use Severe Asymmetry: An off-center hole or a single keyway on a shaft creates an unbalanced stress profile during heating and cooling, which can easily cause the part to bow. Whenever possible, design with symmetry in mind.
How to “Speak” Professionally on Your Drawings
Your engineering drawing is the legal contract between you and your supplier. Ambiguity is the enemy of quality.
A professional specification is clear, concise, and leaves no room for interpretation.
- Specification Example: Instead of just writing “Harden,” a professional callout looks like this:
- “Area: Journal Surfaces A & B Only. Induction Harden to 55-58 HRC. Effective Case Depth (ECD) to be 1.5-2.0 mm.”
- Technical Requirements Checklist: Add these notes to your drawing’s general specifications:
- “No evidence of quench cracks is permissible.”
- “Hardness to be verified using [specify method, e.g., Rockwell C scale].”
- “Provide certificate of conformance with each shipment.”
The Art of “Timing” in Your Manufacturing Process
Finally, when you heat treat is just as important as how. The golden rule is simple: perform heat treatment after rough machining but before final finishing.
This sequence provides the perfect balance. You’ve removed the bulk of the material, but you’ve left enough stock—the machining allowance—to correct any minor distortion that occurs during quenching.
How much allowance? For a typical quenched and tempered part, a 0.5mm to 1.5mm allowance on the diameter is a safe bet.
This gives the final grinding or turning operation enough material to remove any decarburized layer and, using the right strategies for machining hardened steel, bring the part back to its final, precise dimensions.
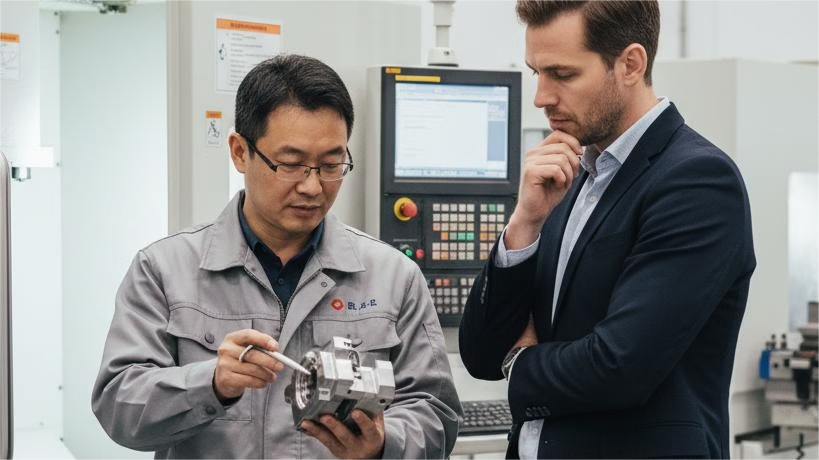
Chapter 4: How to Choose a Heat Treatment “Partner” You Can Trust
You’ve perfected the design and specified the process flawlessly on your drawing. Now comes the final step: choosing a supplier. The common approach is to send out a request for quotation to three companies and select the cheapest one.
This is perhaps the single most critical mistake an engineer can make.
Heat treatment is not a standardized commodity; it’s a highly technical service where expertise and process control are paramount. Choosing a supplier should be less like buying a product and more like selecting a technical partner.
Recalculating Your Costs
The price per piece is only a tiny fraction of the total picture. A low-cost supplier who delivers inconsistent results can be incredibly expensive in the long run.
To make a truly informed decision, you need to calculate the Total Cost of Ownership, which looks like this:
Total Cost = Part Cost + Heat Treatment Fee + (Scrap Rate % x Total Part Cost)
Consider this: A supplier who charges $8 per part but has a 3% scrap rate is far more expensive than a $10-per-part supplier with a 0.5% scrap rate, especially when the part itself has hundreds of dollars of material and machining cost invested in it.
A reliable partner creates value by lowering your total cost, not just by offering a low initial price.
Five Professional Questions to Ask Your Potential Supplier
To move beyond a price-based discussion and assess true expertise, use your next supplier conversation to ask these questions. Their answers will reveal volumes about their capability and whether they operate as a simple processor or a true partner.
| Question Category | Question to Ask | What It Reveals |
|---|---|---|
| Process Control | “For a long, slender part like this, how do you control distortion?” | Expertise with challenging geometries. |
| Data & Transparency | “What is your temperature control accuracy, and can you provide process data?” | Level of equipment precision and quality control. |
| Material Science Acumen | “Do you adjust your process for different batches of the same material?” | Sophisticated understanding of material variability. |
| Collaborative Spirit | “Looking at my design, do you see any features that pose a risk?” | Willingness to act as a partner, not just an order-taker. |
| Quality Assurance | “If a problem arises, what is your quality analysis process?” | Commitment to accountability and problem-solving. |
As quenching expert Dr. D. Scott MacKenzie has noted, the hardening operation is incredibly complex; a cooling rate that is too fast leads to cracking, while one that is too slow fails to achieve the required properties. Finding a partner with the expertise to navigate this fine line is the key to consistent and reliable manufacturing.
Conclusion: Be the Engineer Who Defines the Outcome, Not Just the Design
Ultimately, mastering the heat treatment process is about elevating your role from a designer who simply creates drawings to an engineer who architects a successful manufacturing outcome.
The journey from a line on a blueprint to a flawless, reliable part is paved with decisions that go far beyond simple geometry.
Let’s recap the core principles we’ve covered:
- The success of a part is determined equally by a scientifically sound design and a reliable, expert partner. One cannot compensate for the other.
- It’s time to move past vague “rules of thumb” and embrace data, process control, and quantifiable metrics.
- Evaluate the value of heat treatment through the lens of risk management, not just price management. The true cost of failure always outweighs the savings of a cheaper quote.
Don’t let hardening, annealing, and tempering be the unpredictable variable in your projects. Control the outcome from the very beginning.


